REVIEW · USHUAIA
Ushuaia: Ojo del Albino – Full day trekking
Book on GetYourGuide →Operated by PATAGON MOUNTAIN AGENCY · Bookable on GetYourGuide
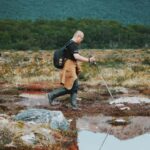
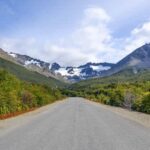
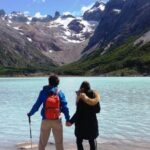
Ushuaia is all about wild weather and wild walking. This full-day trek takes you from valley wetlands up toward the Ojo del Albino glacier, with the Esmeralda Lagoon worked into the same route. You get a taste of what makes Tierra del Fuego so different from the Andes you might know elsewhere: forests, peat-bog valleys, and high, rocky uphills all in one day.
What I like most is the mix of ecosystems without it feeling like a “drive-by.” You start on easier trail through humid forest and then step into the rocky climb toward the glacier, where the views over the Fuegian Andes feel earned. I also love the small-group pace—limited to just 5 participants—because it keeps the hike feeling controlled even when footing gets messy.
The main drawback is that this is very demanding. The route totals 18 km with about 810 meters of elevation gain, and the ground can be muddy and rocky. If you’re not used to steep, uneven walking for hours (and you don’t come prepared), the day can feel longer than it should.
In This Review
- Key things you’ll notice on this Ojo del Albino trek
- Why this Ushuaia glacier hike hits different
- The day’s timing: how it flows from hotel to glacier and back
- Esmeralda Lagoon to the forest edge: the “easy” part that still matters
- Leaving the vegetation limit: where the hike becomes demanding
- Ojo del Albino glacier at the 12:00 mark: what you’ll actually do there
- The return: why the downhill can feel harder than the climb
- Gear that actually matters (and what to skip)
- Guides, small groups, and how to make the hike feel manageable
- Price and value: is $200 worth it?
- Who this is for, and who should think twice
- Should you book this Ojo del Albino full-day trek?
- FAQ
- FAQ
- How long is the Ojo del Albino full-day trekking experience?
- How far do you hike and how much elevation gain is there?
- What terrain should I expect?
- What time do you start, and when do you return?
- Is the tour guided and in what languages?
- How big is the group?
- What’s included in the price?
- What should I bring to join the hike?
- Is the tour affected by bad weather?
- Who is it not suitable for?
Key things you’ll notice on this Ojo del Albino trek
- 18 km / 810 m climb: real effort, not a stroll, and the work starts after the lagoon
- Esmeralda Lagoon + Ojo del Albino: two iconic stops in one continuous trek
- Changing terrain: humid forest, peat-bog valleys, then rocky ascent near the glacier
- Small group of 5: better pacing and more attention on footing
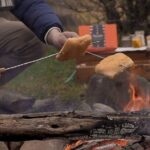
- Lunch box + hot drink: you’ll be fueled for the return (and warmed up when needed)
Why this Ushuaia glacier hike hits different
If your idea of Patagonia is “dramatic views,” this tour delivers. But what makes it memorable is the process of getting there. You’re not just heading to a viewpoint—you’re moving through the same kind of ground travelers talk about from Ushuaia brochures, only this time you’re walking it.
The route is built around two signature places: the Esmeralda Lagoon and the Ojo del Albino glacier. That matters because the lagoon section gives you a mental warm-up—easier trail, forest, and a steady build—before the hike turns into the kind of uphill scrambling where you feel every gain.
It’s also a good match for people who like “varied conditions.” You’ll go from a greener, wetter feel to rockier, more exposed ground as you move beyond the vegetation limit. That shift is where the Fuegian Andes start showing their teeth.
You can also read our reviews of more hiking tours in Ushuaia

The day’s timing: how it flows from hotel to glacier and back
You’ll leave Ushuaia early. Here’s the typical rhythm:
- 7:30 departure from your hotel in Ushuaia (transfer included)
- 8:00 hike start
- 12:00 arrival at the foot of the glacier
- 13:00 return begins
- 17:30 back at Ushuaia
That schedule is a big deal for planning. You’ll be hiking for most of the morning and early afternoon, with a glacier-focused window around midday. Because the day is long and active, the included lunch box and hot drink aren’t “extra.” They’re part of staying functional for the downhill and the second half of the route.
Also note the transfer time: there’s about 25 minutes each way by bus/coach. You’re not spending the whole day on a vehicle, which helps keep the hike as the main event.
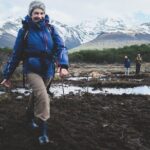
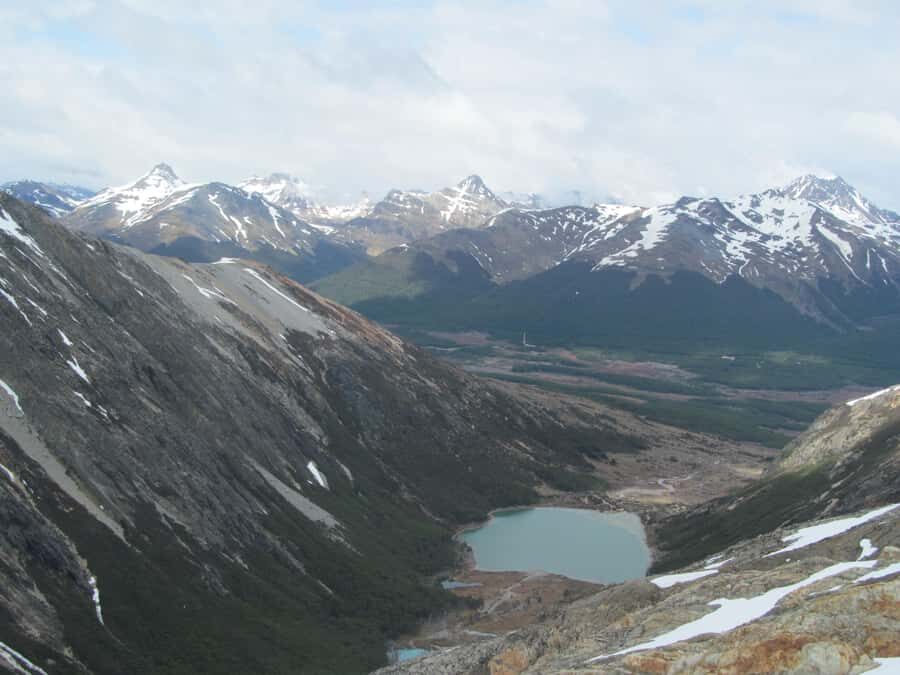
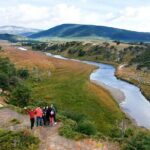
Esmeralda Lagoon to the forest edge: the “easy” part that still matters
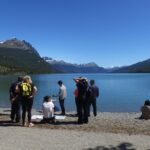
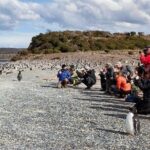
The first section is the confidence-builder. The trail is described as easy at first, running through humid forest and eventually reaching the Esmeralda Lagoon area. This is where you’ll feel the character of Tierra del Fuego up close—cool air, wet ground, and those close-range views that make you stop without even meaning to.
Two practical points here:
- Even when it feels easier, you’re still going to want stable shoes and good socks. The terrain can turn muddy quickly.
- The lagoon and forest section is your setup for the real climb. You don’t want to waste energy here, but you do want to get your rhythm and breathing under control.
If you’re tempted to start fast, resist that impulse. Many of the hard parts come later, once you move into the rocky ascent toward the glacier.
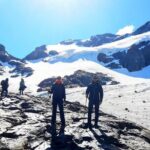
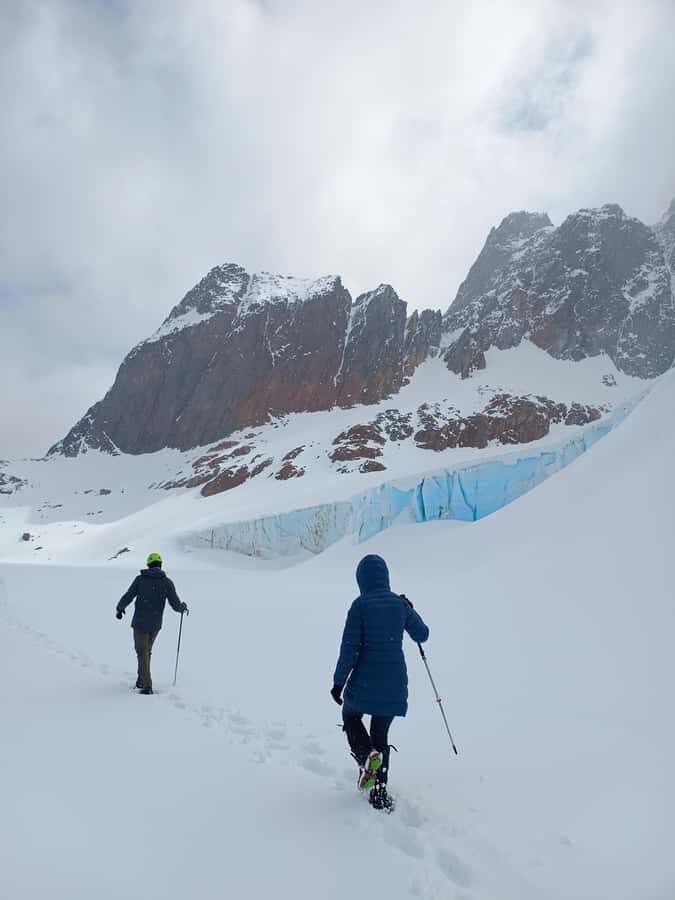
Leaving the vegetation limit: where the hike becomes demanding
After the forest and lagoon area, you cross beyond the vegetation limit and enter a rocky zone. This is the phase where you’ll notice the elevation gain pushing harder and the ground getting uneven.
You’ll be crossing boulders of different sizes, and that changes how you place your feet. The goal isn’t just speed. It’s careful steps: short strides, firm foot placement, and using the trekking poles to reduce strain.
This is also where a good guide earns their pay. In past outings, guides such as Mika and Tobias have been praised for competence and for adjusting the hike to different experience levels. That’s important on this specific trail because “demanding” here isn’t just cardio—it’s technique.
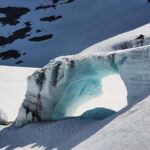
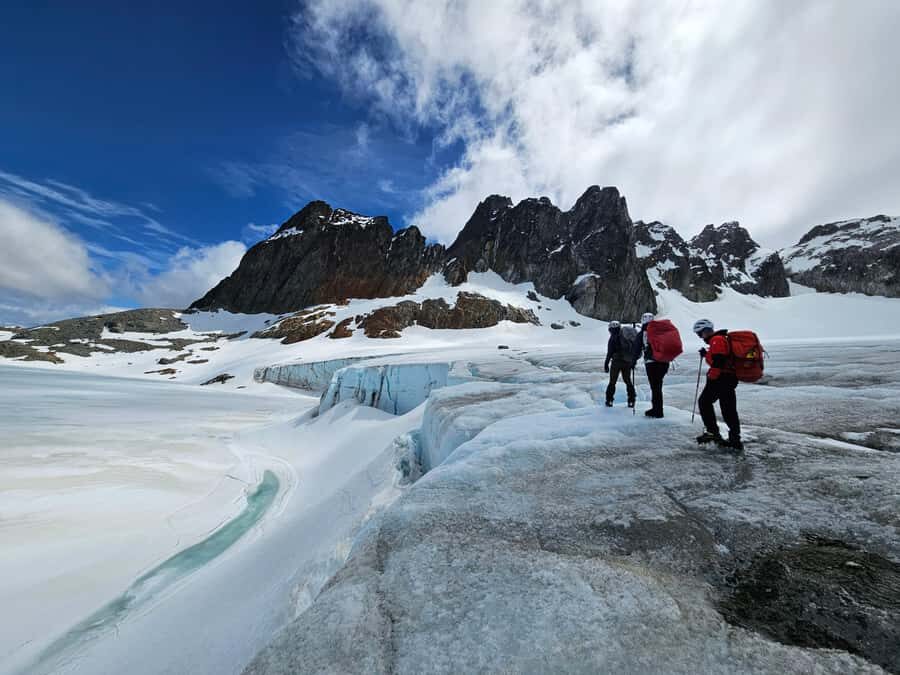
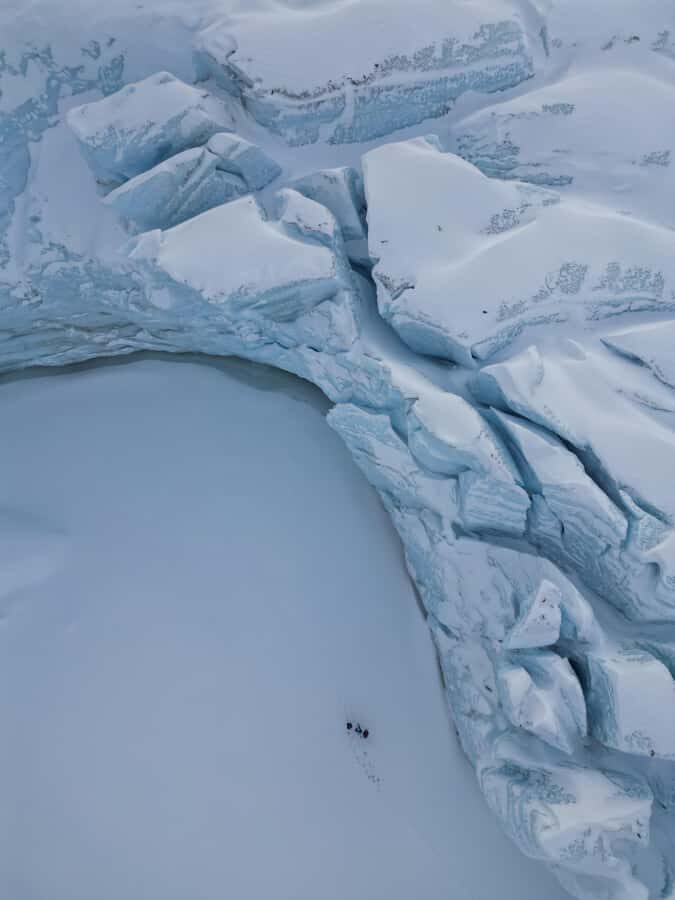
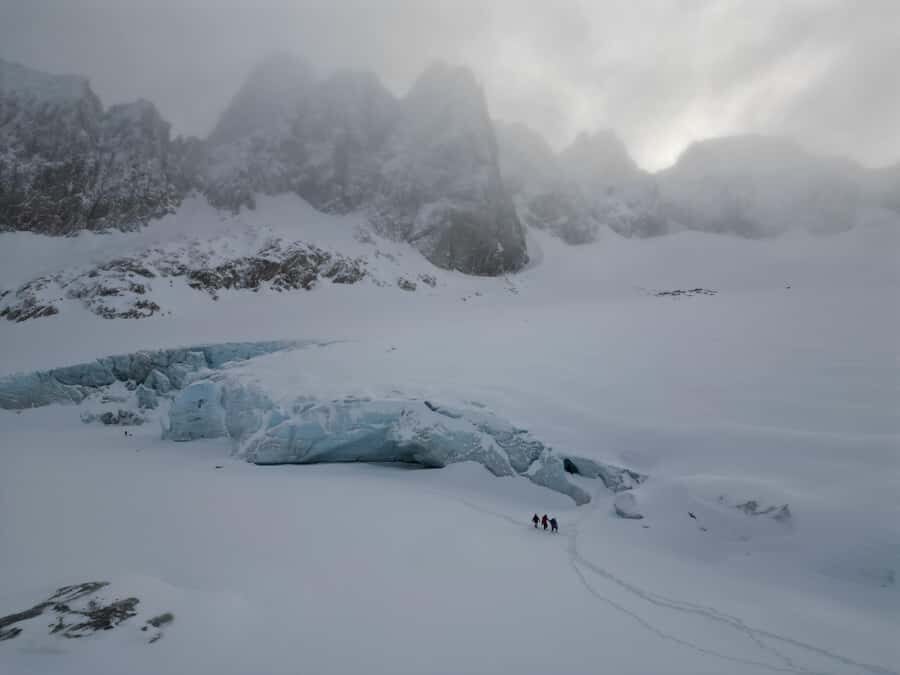
Ojo del Albino glacier at the 12:00 mark: what you’ll actually do there
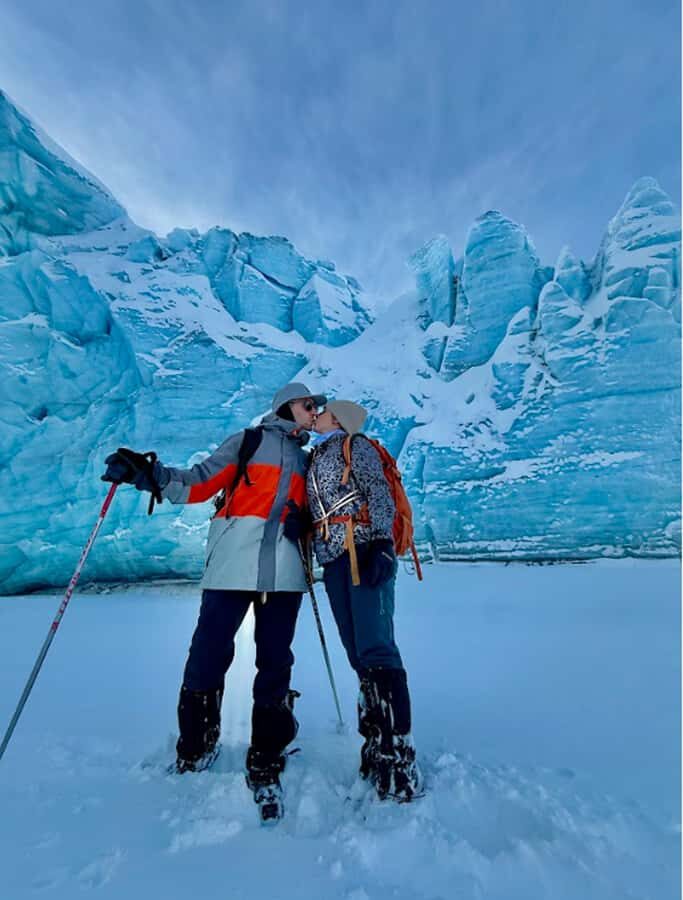
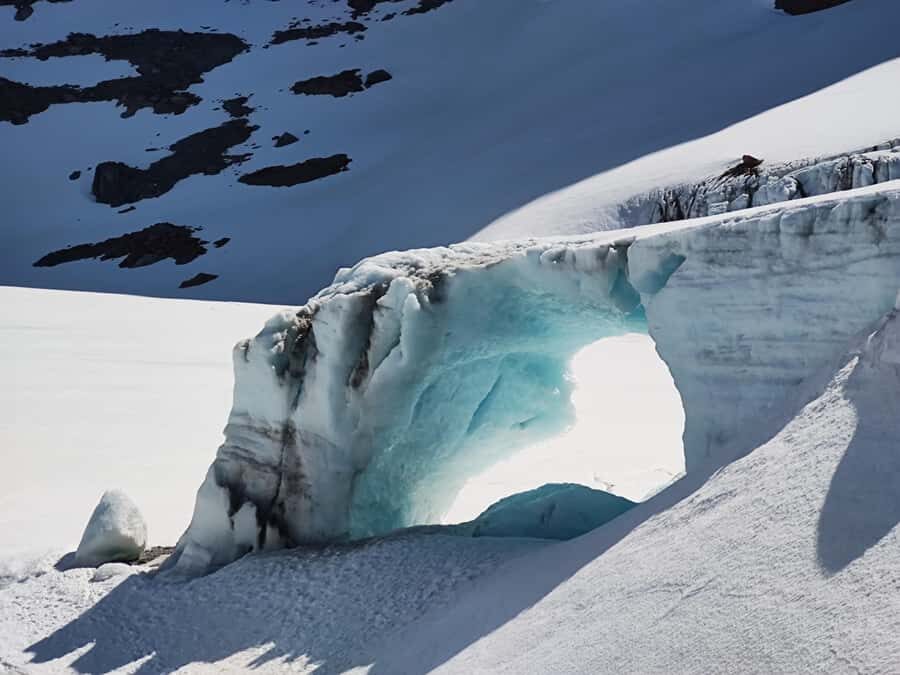
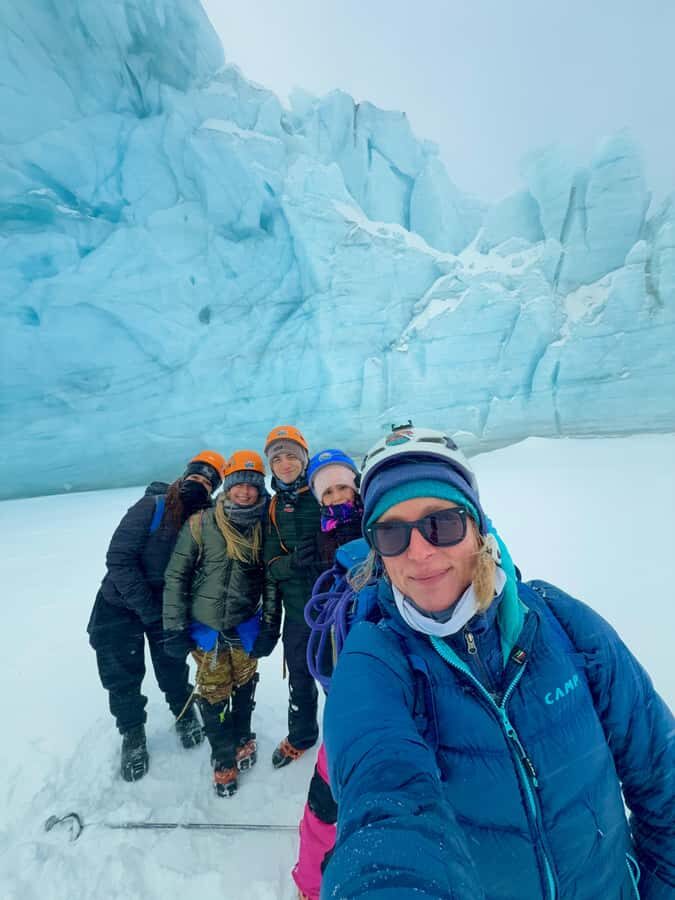
You reach the foot of the glacier at about 12:00. The tour is built around this moment as a payoff for the climb, and it’s not just about staring. You’ll spend time near the glacier area before turning back at around 13:00.
The provided hot drink and lunch box typically slot into this middle section. Even if you’re not the cold-type, you’ll appreciate the warmth and fuel when you’re standing and then restarting the walk.
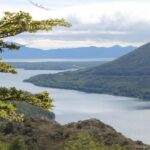
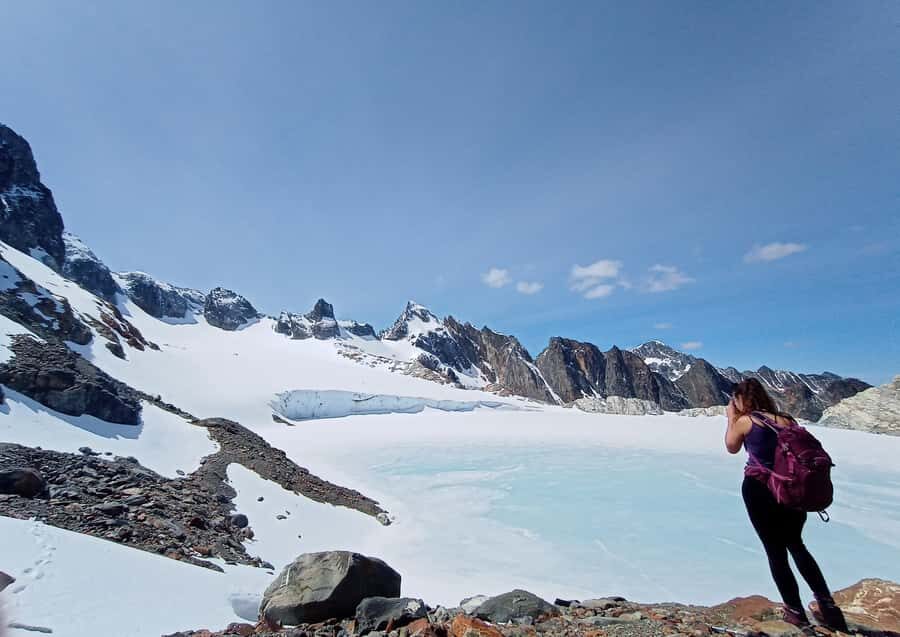
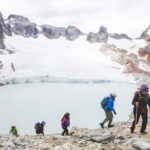
And the views here are the point. As you look out, the Fuegian Andes show up in a way that’s hard to duplicate from a road. You’ve climbed from wetter valleys into higher, more exposed terrain, and the glacier sits right in that transition.
A few more Ushuaia tours and experiences worth a look
The return: why the downhill can feel harder than the climb
People often think the uphill is the challenge. On this route, the return deserves respect too.
Once you start heading back, you’re going from rockier, more exposed ground toward mixed footing that can include mud and uneven surfaces. Descents can be tough on knees and balance. That’s where trekking poles matter—especially on boulder fields and slippery edges.
A tip that stays useful all year: keep your focus on the next few steps, not the horizon. It’s a subtle shift, but it helps you stay steady when the ground changes every few meters.
Gear that actually matters (and what to skip)
This tour is rain or shine, so your clothing and footwear aren’t optional. Here’s what you should bring for comfort and safety based on what the operator requires:
Bring
- Hiking shoes (not flimsy sneakers)
- Socks and a warm jacket
- Gloves, hat, and sunglasses
- Sunscreen (yes, even in cool climates)
- A reusable water bottle
- Your layers for wind and wet conditions
Plan to pack like you mean it
- No luggage or large bags allowed. Travel light so you’re not fighting your own load all day.
Important note: if you don’t bring the required items, you won’t be able to join. That’s not a “maybe.” Come ready.
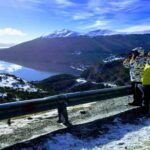
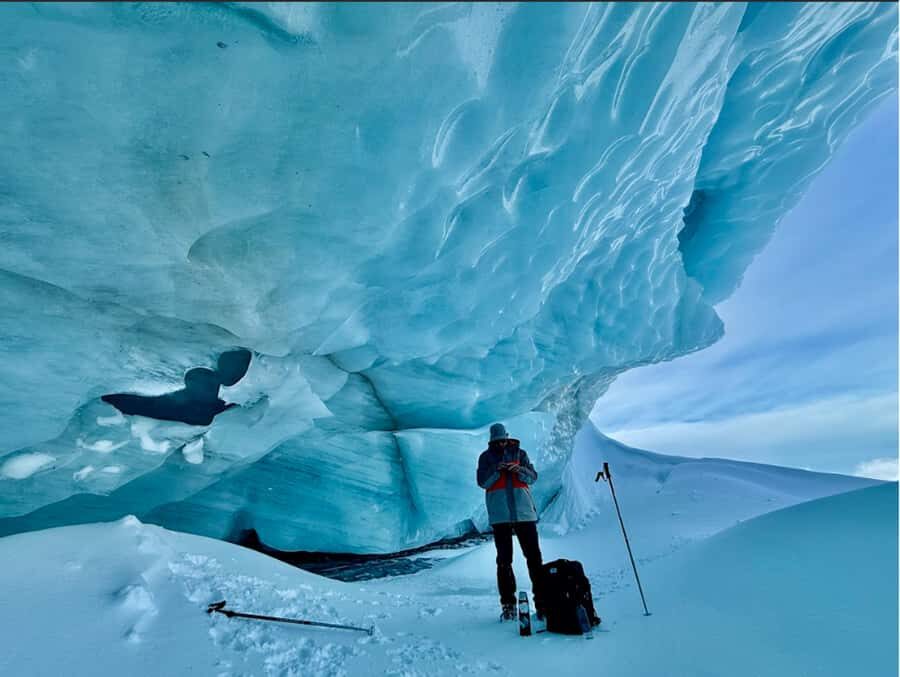
One more practical detail: you might see snow conditions depending on the season and weather. Dress for cold enough to stay comfortable if conditions turn slick or icy.
Guides, small groups, and how to make the hike feel manageable
This is a guided trek with transportation and personal insurance included, and it’s limited to 5 participants. That small group size is the difference between feeling like a number and getting help when you need it.
What to look for from the guide’s side:
- Keeping the pace steady when footing becomes rocky
- Giving practical tips on where to step on boulders
- Timing the day so you reach the glacier and still have energy for the return
In the field, guides have been praised for both courtesy and competence. More than one outing highlights that the hike can be smooth because the guide guides—especially through snow or tricky ascents. If you’re building your confidence for tougher hiking, this kind of oversight can turn “scary” into “doable.”
Price and value: is $200 worth it?
At $200 per person for 8 hours, this isn’t a budget add-on. But it’s not overpriced for what you get either, because the inclusions are doing real work for you:
Included:
- Guided hike
- Transportation (transfer from your hotel plus bus/coach time)
- Personal insurance
- Trekking poles
- Lunch box and a hot drink
When you’re comparing it to a DIY glacier plan, those items quickly become the hidden cost. You’d need transport, a safe plan for a steep, rocky hike, and the gear. Here, the poles, food, and guide cover the biggest practical barriers.
My take: this is best value for people who want the “full day” experience without having to build a skill-and-logistics puzzle first. If you already hike hard, you might not need a guide as much—but the route’s demanding terrain still makes this a smart way to manage risk.
Who this is for, and who should think twice
This trek fits people who:
- Are comfortable with steep, uneven hiking for hours
- Have some experience moving on rocky or muddy terrain
- Want to see two iconic Fuegian glacier/wetland highlights in one day
It’s not suitable if:
- You’re under the child age limit (the operator notes children under 14 aren’t included, and it also states it’s not suitable for children under 13)
- You have mobility impairments or use a wheelchair
- You have low fitness or lack hiking experience
- You’re over 254 lbs / 115 kg (weight limit stated)
- You can’t meet the required gear checklist
If you’re unsure about your ability, be honest. The route has 810 meters of climbing over 18 km, and the “mud and rocky terrain” detail is there for a reason.
Should you book this Ojo del Albino full-day trek?
I’d book this if you want one serious hike day in Ushuaia that delivers real variety: lagoon, forest, then a tough rocky climb to the glacier. The small group size, guide support, and included lunch/hot drink make it practical, not just scenic.
Don’t book it if your hiking experience is mostly flat trails, or if you hate wet, uneven footing. This one asks you to walk carefully and commit to the climb. If you’re ready for that, the day feels like a complete Tierra del Fuego experience.
FAQ
FAQ
How long is the Ojo del Albino full-day trekking experience?
The duration is 8 hours.
How far do you hike and how much elevation gain is there?
The total distance is 18 km, with a positive elevation gain of 810 meters.
What terrain should I expect?
You’ll hike through humid forest with mud and rocky terrain, and later you’ll enter a rocky ascent with boulders of different sizes.
What time do you start, and when do you return?
You depart your hotel at 7:30, start the hike around 8:00, reach the foot of the glacier at 12:00, and end back in Ushuaia around 17:30.
Is the tour guided and in what languages?
Yes, it’s guided by a live tour guide, with languages including English, Spanish, French, and German.
How big is the group?
The group is limited to 5 participants.
What’s included in the price?
Included items are guided service, transportation, personal insurance, trekking poles, a lunch box, and a hot drink.
What should I bring to join the hike?
Bring sunglasses, a hat, hiking shoes, sunscreen, a jacket, gloves, socks, and a reusable water bottle.
Is the tour affected by bad weather?
The tour runs rain or shine.
Who is it not suitable for?
It’s not suitable for children under 13, wheelchair users, people with mobility impairments, and those without hiking experience. There’s also a stated weight limit of 254 lbs / 115 kg.